2.4. Preparing First Use
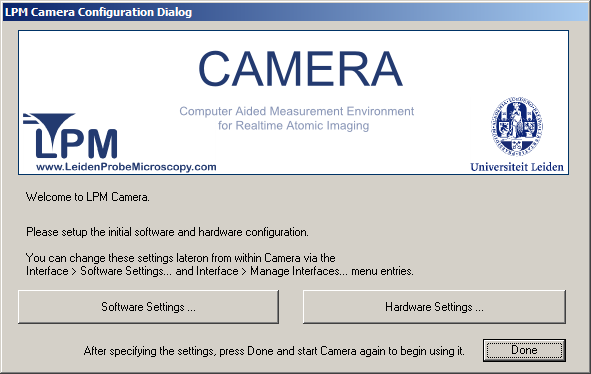
When, after installation, you start the Camera application for the first time, the following dialog appears to configure several software and hardware settings.
After specifying the settings, start Camera again to begin using it.
Now press to obtain the Camera Software Settings Dialog.

Configuration file with default program settings: Here you can specify the configuration file to take the program settings from when new projects are created.
swap file, or cyclic storage buffer: The swap file is the file in which the measured data is dumped. It should be located on a fast hard drive of the Camera Computer system.
Press to close the Camera Software Settings Dialog.
Next press on the Camera Software Options Dialog to obtain the Camera Hardware Settings Dialog.
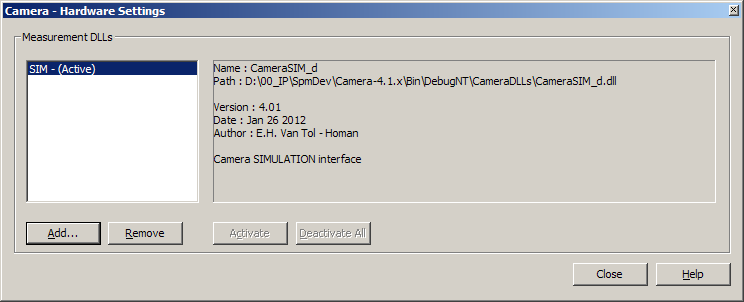
On this dialog, select and double click the interface you want to use for your project(s): AFM, STM or SIM (simulation). For more information on this dialog, see Section A.2, “Select an Interface”.
Now press to close the Configuration Dialog.
![[Tip]](images/tip.png) | Tip |
|---|---|
You can change the above settings lateron from within Camera via the → and → menu entries. |
Now you are ready to start using Camera.